Create a Custom Fiber Limit in LinkWare Live
Did you know that you can create a custom fiber limit in LinkWare Live and then send it to the Versiv mainframe when you SYNC the Project to your LinkWare Live account? Hier sind die Schritte:
- Create a Project in LinkWare Live and Save the project.
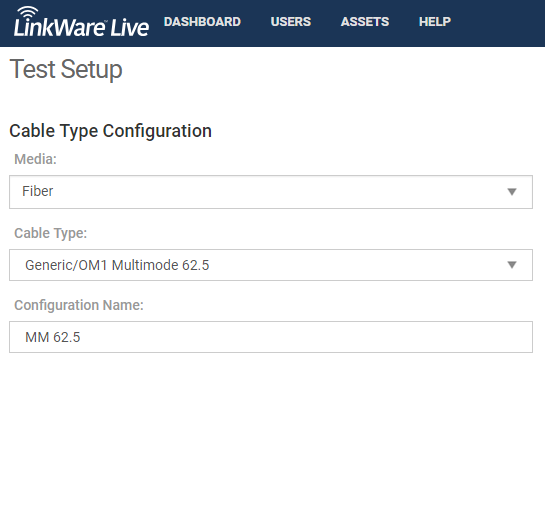
- Click New Test Setup to enter the Cable Type Configuration menu
- Choose the Media Type: Glasfaser
- Choose the Cable Type from the dropdown
-
Enter the Configuration Name
-
Choose the test type (Loss/Length for this example).
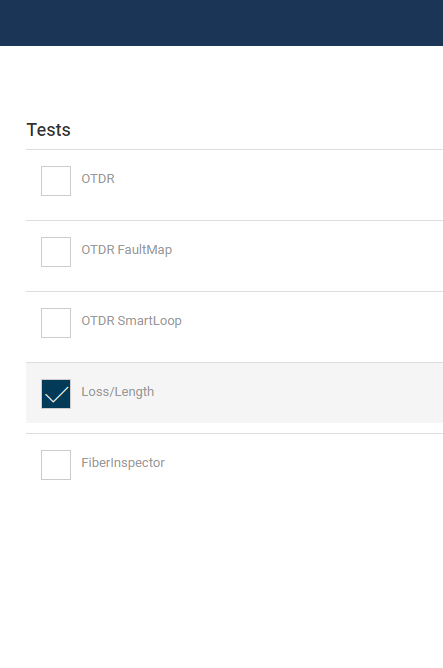
-
Make your selections and save the custom fiber limit.
Loss/Length Test Setup
Testgrenzwert: Select Create New Custom Loss / Length Test Limit
For a Length Based loss limit, the loss limits are preloaded with values from the TIA Limits. You will need to check your requirement and adjust your configurations.
Hinweis: The Connector Type is only a descriptor (Connector or MPO) for the Connection Loss field. If you are using standard fiber connectors and MPO connectors (and the loss limits are different), we recommend that you make separate custom Loss Limits for each type.

There are no preset values in a Custom Fixed Loss limit configuration. The value you enter is the Overall Loss, which would include any connector loss and splice loss on each fiber under test.
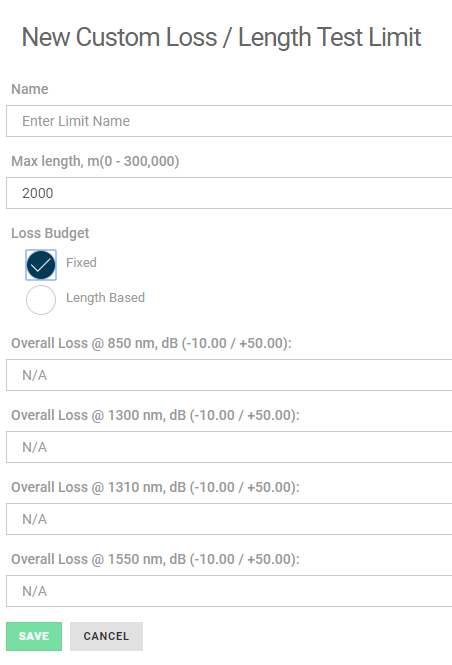
Enter your loss values and click SAVE.
When you SYNC your Versiv to the Project in LinkWare Live, the custom fiber limit you configured will be transferred to your Versiv.
To select the custom limit on your Versiv, make sure that you have the fiber module selected in the TEST SETUP menu, and tap on the Test Limit (More) and look in the Custom folder for the limit you configured. A configured custom limit will have asterisks around it like this: *Custom Limit*


